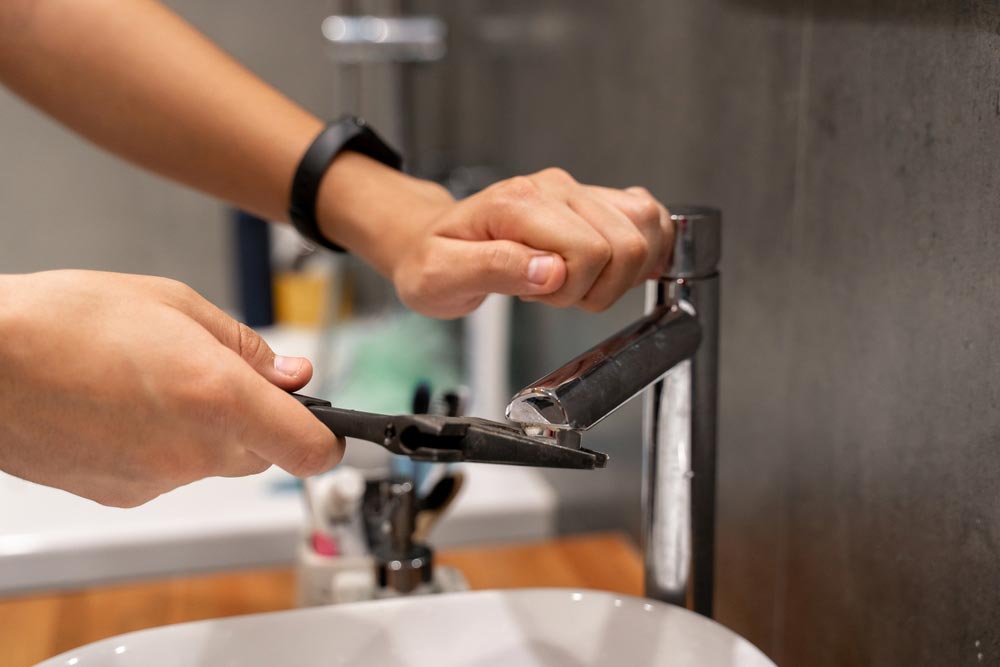
How To Replace A Bathroom Tap
Whether you're making a design change or rectifying a leaky situation, replacing a tap can improve the aesthetics and functionality of your bathroom. Today, we'll walk you through the simple steps you need to take to replace a bathroom tap. However, if you feel any hesitation, always contact a professional plumber to help you with a safe and successful replacement.
Why Replacing a Bathroom Tap is Essential?
A faulty or outdated tap can lead to water wastage, which may result in increased utility bills. Furthermore, leaky taps can contribute to damp, fostering mould growth, which is a hazard for you and your family's health.
Also, let's not forget about the aesthetic factor. A shabby, worn-out tap can dampen the overall look of your bathroom. By replacing it, you can instantly uplift the mood of your space and keep it looking contemporary and stylish.
Step-by-Step Guide on How to Detach Your Existing Tap
Before proceeding, please note that if you're not confident about this process or if the situation becomes complex, consider contacting professional plumbers as they're adept at handling such tasks and can ensure your plumbing needs are met without any complications.
- Turn off the Water Supply: The first step is to shut off the water supply to your bathroom. You'll usually find the stopcock under the sink or possibly in a cupboard nearby. Turn it clockwise until it's tight to stop the flow.
- Release Remaining Water: Turn on your tap and let any residual water drain out.
- Disconnect the Water Lines: Under your sink, you will find two water supply lines connected to the tap - one for cold water and one for hot. Use an adjustable wrench to carefully disconnect them.
- Remove the Tap: Next, you'll see a nut that secures the tap to the sink. Again, using your wrench, loosen this nut and remove the tap from the sink.
Safely Attaching Your New Tap To The Water Source
Now that you have detached the old tap, it's time to install the new one. Follow these steps to ensure a secure connection:
- Check the Tap Holes: Before starting, make sure the new tap fits the pre-existing holes on your sink. If not, you may need to either drill new ones or choose a different tap.
- Attach the New Tap: Place the new tap in the hole(s) and secure it using the nut provided. Ensure the tap is straight and tight.
- Reconnect the Water Lines: Reattach the water lines to the tap. Usually, blue represents cold and red represents hot. If not coloured, the hot water is generally on the left and cold on the right.
- Check for Leaks: Lastly, turn on the water supply and check your new tap for any leaks. If you find any, tighten the connections a bit more or consider using plumber's tape for a better seal.
While replacing a bathroom tap might seem like a difficult task, it's usually quite straightforward. However, if you encounter any difficulties, remember to call in the experts. They'll be more than happy to lend their expertise and ensure your tap replacement is carried out correctly.
Need Expert Plumbing Assistance?
While it’s easier to tackle small household tasks, plumbing requires a certain level of expertise. Why risk a leak or a botched job when Cape Byron Plumbing is just a phone call away?
Our team of professional and dedicated plumbers is ready to handle all your plumbing needs - from replacing a bathroom tap to installing a new bathroom suite. Contact Cape Byron Plumbing today and our experts will take care of it.